You just have to read the entire article and then seem my comments.
I make no judgement (like some of the other commenters) on whether Aaron is a “real car guy”, in fact I’m sure he is a ‘car guy’ – just one of ‘THOSE’ car guys. (If you are a real car guy you’ll know what I mean).
Courtesy of BMW By Aaron Miller @aaron_m_miller
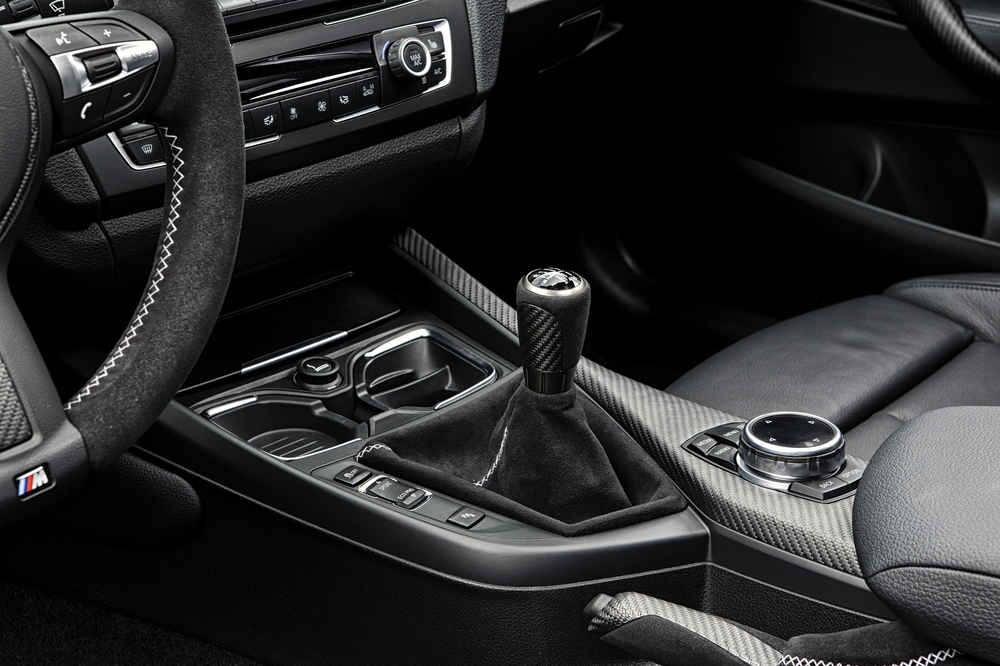
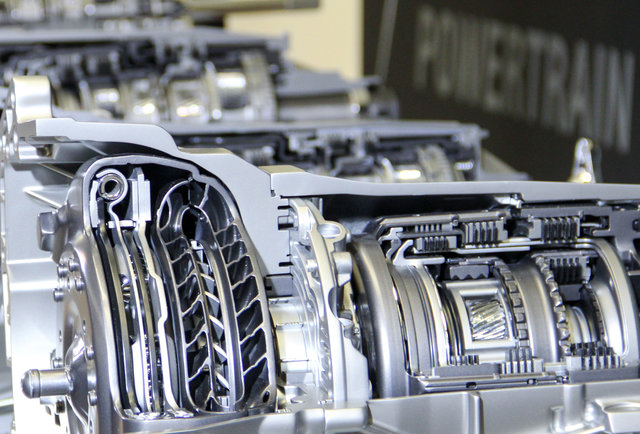
I’m going to take a lot of heat for what I’m about to say. While no manufacturer can expressly admit it, behind closed doors, deep within the bunkers in Detroit, Munich, Stuttgart, and Tokyo, most engineers will nod in agreement. With enough soul searching, quite a few of my fellow automotive writers will find themselves agreeing, too. The visceral allure of the manual transmission as we know and love it isn’t….
The last three post we basically a run down of the extent of the rust damage in the floor pan areas on #ProjectSportsRoof. As you saw the right side was bad, especially the under the rear seat on that side and the left side not as bad. Interesting enough it ended up being about the same work for both foot wells and a lot work for the whole under the rear seat. (You’ll notice in at least one of the videos I mentioned that all I needed to do was to buy the panel for under the rear seat – but I was wrong. Those just are reproduced. What I ended up doing was purchasing a 3rd foot well pan and “modifying” that to get the whole patched.)
As this is my first time actually doing floor pans, I did a lot of “making sure” up front work to limited the size of the mistakes I might make. Last thing I needed to do was cut in the wrong place or make the opening to big. As you know the Mustangs of that era only had sub-frames and the floor for the most part were what held them together. A major screw up there and you’ve weakened the structure and then it’s body off complete floor replacement – NOT IN THE BUDGET!!!
Here’s some of the preliminary work.
So of course there isn’t a rear panel (see above) and the drain in the panel is not plugged with a rubber stopper, but with a metal screw down plate – sealed with seam sealer.
I worked the left side first (some I could keep the car mobile – for pulling in and out of the garage) so I left the driver’s seat and most of the carpet in place.
Coming up is the first cuts of the right side floor pan and fitting of the replacement panel.
Thanks for checking in on the 1973 Mustang project. Below is the last part of the discovery process for determining the extent rust damage. Here is the driver’s side.
This shot doesn’t look too bad, especially compared with the right side. Below is a video recap of what needs to happen.
Of course still need to remove the rest of the carpeting. All indications are that everything else is solid!!
Mar 2, 2016 … Among these things are coins and #ProjectSportsRoof had an abundance of lost change. The first coin I found was a nickel. It was under the …
Feb 29, 2016 … Thanks for following along with #ProjectSportsRoof. Over the next couple of weeks (giving myself a lot of time to get this all down in the blog) …
Welcome back to #ProjectSportsRoof. We beginning the actual work on the vacuum system on the projects 351C starting with the valve assembly distributor ( the …
You can see my 2007 C6 and the 1973 Mustang (#ProjectSportsRoof) and my son’s 1991 Chrysler Le Baron vert and good friend’s 2011 Mustang vert(with the nicest seats ever!!!).
Constant reader of this blog Bill and my son Ryan
This was my son Ryan’s first car he’s entered in a car show. The 1991 Le Baron is a true collector and is in excellent survivor condition with over 140k miles he is the only the second owner. Bill (sitting next to my son) was the Le Baron’s first owner – that’s Bill’s 2011 Mustang V6!!!
Besides those cars – here is my favorite late 50’s car at the show.
Clean 282 Engine!!
One of my favorite attributes….a painted dash!!!
The fender skirts are great and the detailed side molding is outstanding!!! (And all original!!)
This 1956 Ford Fairlane Club Sedan has 282 engine, 3 speed column shift and has just over 30k original miles. It all original except the tires (the spare is original). This was an Ebay buy and originated in PA.
There were a couple beautiful pickups and a Lotus and 1988 Shelby Dodge Charger – very cool!!
The voting, interestingly enough, was done by the car owners and everyone that came to view the cars.
Trophies were handed out and one of the winner was this car:
#ProjectSportsRoof took home one in the 1970’s/Under Construction category
Yup lots of love shown to my 1973 Mustang SportsRoof.
It was a small but fun show. Lots of time to have long conversations with the owners and the crowd.
Thanks to Hagerty Insurance, Mothers Wax and Car Guy Garage for supporting the car show. We raised awareness and money for Southern Arizona Autism Society!!
Oh…and if you are in Tucson, AZ there is a walk that raised money for this worthy cause as well.
As with most car restoration projects discovering what needs to be worked on and to what extent is an experience to say the least. Sometimes that discovery is a bit disheartening like the rust to floor pans on the right side, sometimes is a major relief and sometimes it’s cool.
As I began removing carpet – which I’m now sure was 33 years old, it uncovered the normal dirt, pens, papers (no build sheet… bummer) and just about all the normal things that slide between the seat cushions and work their way under the carpet. That can show a lot about its previous owners and how the car was used.
Among these things are coins and #ProjectSportsRoof had an abundance of lost change. The first coin I found was a nickel. It was under the underlayment which I found to be a tough place for nickel to have worked its way. Interesting enough it was dated 1973.
1973 Jefferson Nickel. Placed by a a worker at the factory? hmmmm….
This reminded me of an often told tail of auto workers leaving tokens of some sort in an inconspicuous place. Wouldn’t that be interesting.
Over all nearly $30.00 in coins were found and of those 3 were from 1973 (a nickel, a quarter and a penny). With a huge cap between 1979 and the 2005 (perhaps indicating it’s break in service when the car was left in a field, junked and then saved.
Someone in the Ford factory back in the day leave this 1973 Jefferson nickel so that someone years later might find it? Interest thought!!!
2 days ago … Thanks for following along with #ProjectSportsRoof. Over the next couple of weeks (giving myself a lot of time to get this all down in the blog) …
Welcome back to #ProjectSportsRoof. We beginning the actual work on the vacuum system on the projects 351C starting with the valve assembly distributor ( the …
Thanks for following along with #ProjectSportsRoof. Over the next couple of weeks (giving myself a lot of time to get this all down in the blog) I’m going to take you through my process for repairing the floors in the 1973 Mustang. I’ll be interrupted by (air quotes)REAL (end air quotes) work and a couple of car shows between now and then.
As much as I’d like to say I was aware of the rust on the floor of the Sports Roof, I can’t. I really missed seeing the extent of the damage. Needless to say I was a bit depressed when I brought it home and climbed in the back seat and notices the floor seemed a bit….’crunchy’.
Take a look at these videos:
You might be able to tell by my voice that I wasn’t overjoyed with the condition of the passenger side floor. To make matters worse I eventually found out they don’t reproduce a patch for under the rear seat for the 1973 Sports Roof. More to come on that in a future post.
Just to issue a reminder as you might be wondering why you see the back seat now in the car as in the previous video it was out, but my goal is to have this as a rolling project and able to at least speed on down to the local petrol station fill it up and grab a Pepsi. (You just can’t work on a car without a Pepsi!!! – Hey maybe they’ll sponsor this rebuild and I’ll change the license plate to read “1973DrinkRealSugarPepsi”.)
O.K. so if you were listening closely you’d realize that I started the floors back in Dec (2015) and it’s now the last day of the Feb 2016 and I’m just getting to post this up now. So it’s taken me a good chunk of time to do this all by hand – including all the cutting with just a hand-held dremel and some metal snips.
I appreciate any and all comments so let ’em fly!!!!
BTW day on this Leap Year day – we’ve surpassed 20,000 registered user on this blog, thanks everyone!!!
1 day ago … This will be a longer post as I finish up the vacuum system on #ProjectSportsRoof , the 1973 Mustang Sports Roof. We have to make a repair, …
Welcome back to #ProjectSportsRoof. We beginning the actual work on the vacuum system on the projects 351C starting with the valve assembly distributor (the valve on the water pump. Here is a pic:
Here is the video:
As always when I’m holding the camera and recording I miss a few things, like there are only two vacuum connections on the valve assembly distributor and the vacuum hoses I referred to at the end go to the charcoal canister – that supposedly filters gas fumes.
Here are the clamps I used.
I’ve got more coming up on the vacuum system and then we’ll jump into the floor pans.
I just have to add one more sleeper car slated to be auctioned off in Scottsdale this week. You might be surprised at this little gem.
Since you know by the title that it’s a Pontiac (or is it?) let me show you a badge on the car to give you a hint. Don’t scroll all the way down yet!!
Hey it’s a Pontiac Sports Deluxe? Not exactly!!
It is a 1967 Pontiac Beaumont!
Looks like a plain Jane Pontiac from the backside!!
It’s got a V8!!
Love the side vents!!!
The Beaumont was a GM based Canadian car sold at Pontiac-Buick dealerships in Canada. Through out it’s production years of 1962 – 1969 it was based on a the Chevelle, the Chevy II and the Nova, all at different point on it’s time line. The Sports Deluxe (SD) was in fact the same trim level as the Chevy Chevelle SS – hence the engine option below.
This one is restored to original, including paint color and it has date-code-correct 396 engine tweaked a bit to produce 375 HP.
Now that’s a sleeper!!!!!
Should be crossing the auction block on Thursday 1/28.
It is tough to pick out favorite cars at a place like Barrett-Jackson’s Classic Car Auctions. There is too much to like. I can say I just like Mustangs or I just like Corvettes, but in reality, I can find lots to like about many classics. But when you sit back at the end of the day of previewing the cars and think about the beautiful works of art, there will be a few that come to mind right away.
So here is one of my favorites I saw on opening day.
Lot #1563 1966 Chevy Chevelle 300 Deluxe
Great looking 66 Chevelle.
It is a 300 Deluxe
Just a great little every day (back then) commuter car.
Just love the painted steel wheels and center hub caps. Hey..what’s that badge on the fender?
What?!!!!
What a sleeper car!!!!! Check out the options:
502 GM crate engine with 502 horse power
Aluminum heads
12 bolt Posi-Traction rear end
Dual Exhaust
Richmond 6 speed manual transmission
4 wheel disc braker
Aluminum radiator
Tach
Should cross the block on Sunday, Jan 31. I’ll watch to see what it brings!!!!
It just a great way to start the New Year, firing up the project car and take it for a quick jaunt down the road. Of course the car is ‘under construction” but still have to take out for a short distance.
The ’73 Stang is a long ways from being completed and yeah…I would be taking it out on the freeway just yet, but I does need to get driving.
My New Years resolution for #ProjectSportsRoof? “Get Her Done!” Next Years Day’s video will be 100% different from this one!!!!
HAPPY NEW YEAR!!!!!
Rare trip. Just far enough to get the engine hot, take the C6 transmission through the gears and top out at about 70 mph.